
By John Anderson
Trying to anticipate what spares will be required on a three month cycle trip is challenging. There will be bike shops en route but not necessarily when you need them, nor stocking what you might need. You cannot take a spare of everything or you’ll be riding two bikes! You need to think about the size and weight of spares and the tools to fit them.
Parts of this post may sound a little technical. However if you’re going to embark on a cycle trip you need a little knowledge, a few key tools and some understanding of what may go wrong and what you should be reasonably be expected to fix yourself.
All bike components can be replaced, often with inexpensive generic parts but some will require very specific component parts.
Basic Repairs
You will have punctures. Spare inner tubes are really a no-brainer, although the number you carry is up for debate. Choose your spare inner tubes carefully to make sure you have the right valve type and tube size. They are not interchangeable.

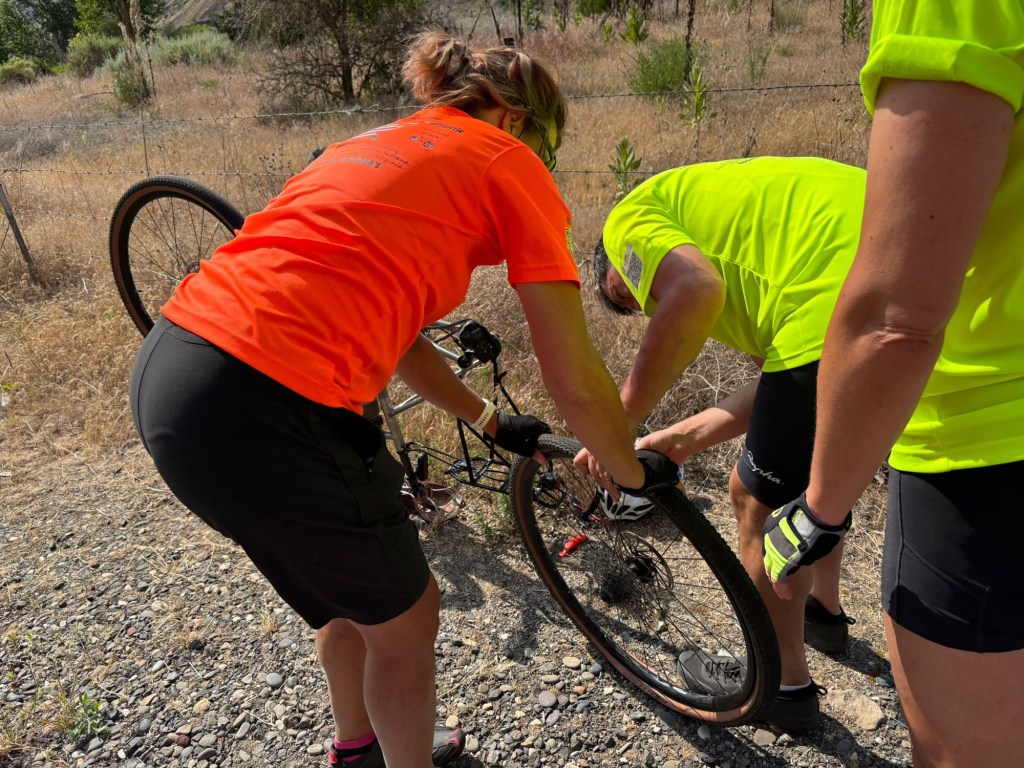
Puncture repair kits can be useful but the enthusiasm to repair a puncture on the roadside of a state highway/interstate can be tested severely. Often it’s best to simply replace the tube there and then with the option of carrying and repairing the tube at a later date. Critically you must ensure you remove the cause of the puncture from the tyre so you don’t get another puncture at exactly the same point literally minutes after changing your tube.
Although this is a one man, two tyre lever operation, for tight fitting tyres, three levers and an extra hand can be very useful.
You also need a bike pump. Most people will carry a manual bike pump but on this trip, a Christmas gift from my wife Alison – a USB chargeable inflater with pressure gauge, has proved invaluable. I now consider this an essential item as does everyone who has cycled with us and seen it in action. Not only does it inflate newly fitted tyres with minimal effort, it also allows you to keep your tyres inflated to the correct pressure as you ride on a day-to-day basis.
All of this is dirty work, so consider carrying some disposable rubber gloves and/or cleaning wipes.
Specific Repairs
One example is the rear derailleur hanger, a small component keeping your gear shifting mechanism in place. They tend to be bike specific. For this reason most people will carry a spare hanger in case this becomes bent or is snapped off. This can occur when your bike simply falls over onto the side with the rear derailleur. With a damaged hanger you cannot change gears or sometimes cannot ride your bike at all. It is truly a critical component.

Spokes are interesting. If they go, they need replaced or you risk catastrophic damage to the whole wheel. However, they tend to break on the rear wheel which requires removing the cassette to replace them. This needs a couple of specific tools: cassette locking tool (specific to hub) and a chain whip – quite a lot of weight to carry for a rare event. However, we met a couple of Americans doing a similar route and have only heard recently that one snapped a spoke and spent two days trying to have this repaired. Eventually, someone drove from Canada to the US to pick up his bike to repair the spoke before returning his bike. Tools can also be used to change a cassette. Over 4500 miles this may well be required although this is often done along with a chain replacement and a bike shop. This needs the shop to have/order the cassettes and book the service – meaning forward planning by about five days.
Breaking a chain is not a disaster if you have a chain breaking tool and some quick clips to repair it. Even if the chain is a little short, it will get you to the next bike shop when you can replace the chain properly.
I debated long and hard as to whether or not I should take a spare gear changing cable in much the same way Alison debated how many pairs of cycling shorts to take.
I was riding a new bike and did not expect the shifter cable to break. When replacing this, I became aware that the shifting mechanism was also damaged, resulting in an inability to shift gears. Having been in this situation for over three days I can attest that trying to cycle across America on a bike with only two gears is very challenging if not almost impossible.
I had adjusted the high limit screw to move the gears to a more comfortable position as they default to the smallest rear cog (hardest to pedal), but even with this, it was hard going.
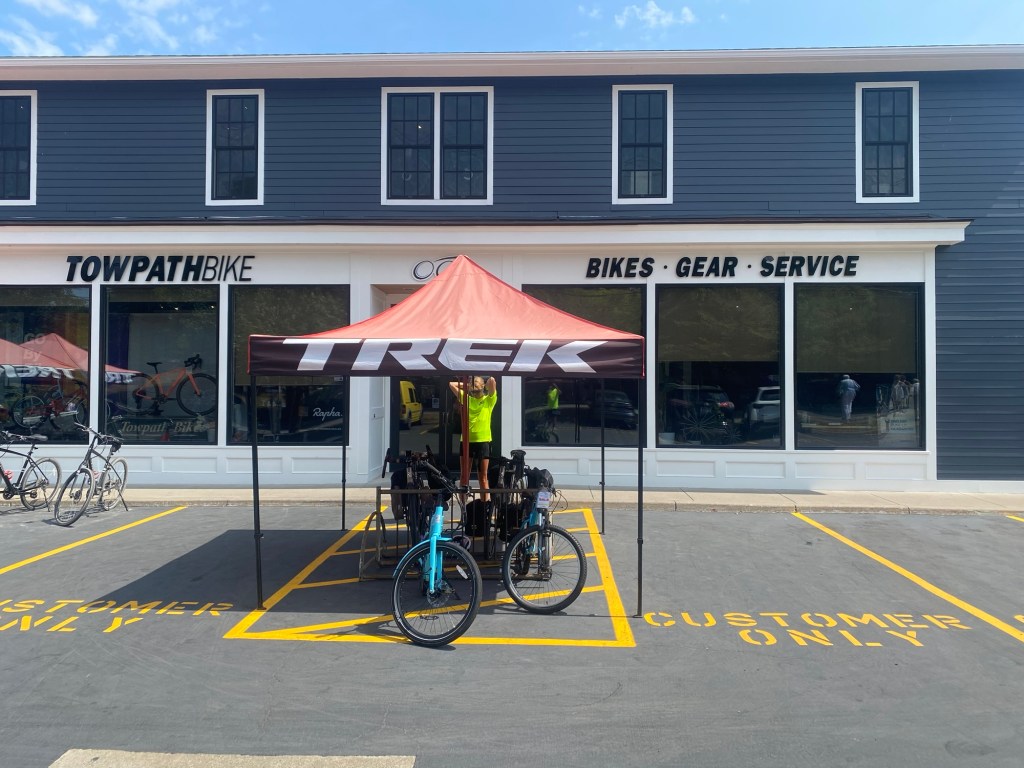
Sourcing a very specific part has not been easy. Every day we move from place to place. I’ve tried calling bike shops several days in advance but often they are not in stock. This is an unusual part to malfunction or break. The risk of ordering online is that it doesn’t arrive at the given address at the same time you do or that the wrong part is sent. I’m pleased to report that James and the team at Ribble came to my rescue and sent the correct part from the UK. I picked this up two weeks after losing the shifter. Until this time I had engineered a temporary fix which held until we reached the Towpath Bike repair shop where Keith went above and beyond to repair my bike to fit with our schedule.
Prior to the repair, each day when I was cycling and shifting gears there was a degree of anxiety followed by relief when they worked. Caroline also suffered a similar fate but was able to replace both shifters after only two days (and a lot of calls) fortunately on some of our flatter sections.

As something like this is highly unlikely to occur, you are unlikely to be carrying a spare shifter or indeed two as they are side-specific. However, a shifting cable is relatively small and light and in future I will pack one of these.
From experience, I would suggest the following basic , high quality tools are must haves.
- Full set of Allen keys
- Reversible (flat head/phillips) screwdriver
- Tyre removal levers
- Pliers (probably fine nosed best)
- Cable cutter (if pliers don’t have this)
- Chain breaker
- Scissors (small and sharp)
- Tweezers (foreign object removal from tyres)
- Cloth (clean chain etc)
- Chain lubricant
I’m pleased to report that overall we got most things right. We have replaced around ten inner tubes between our two bikes. I have just replaced both tyres after completing 4000 miles. The shifter issue was fairly unique and unusual. It has proved challenging but hopefully will not stop us from completing what has been a fantastic adventure.


Oh and I forgot to mention a tip from our local bike mechanic, those nitrile gloves can get you through when things suddenly get wet and cold.
A nice article John. Thankfully we live and learn eh?
One of my happiest purchases for bike tools is a Blackburn “Big Switch” multi tool.
I really don’t like multi tools as they are cumbersome and awkward. This one gives you all the Allen keys, screwdrivers, a chain breaker and an extension handle in a neat little case. Quite the most versatile tool I’ve owned.
A fascinating piece about the dilemmas on what to pack – tyres, tubes, chains, cassettes, shifters, hangers and the like. Not least, the wardrobe challenges faced by the Cyclopath herself.
I think I speak for every regular reader, when I say that that your blog would have benefitted from more focus on this more critical subject. Just saying.
Stay safe.
This was a tongue in cheek comment. 😂Great blog, John!
Such tenacity – well done, John. You should be very proud of yourself! x